How To Build a DIY Wooden Mechanical Keyboard with CNC & 3D Printing Techniques?
Creating a wooden keyboard blends the rustic charm of wood with the precision of modern technology. This detailed guide will walk you through each step of building a DIY wooden keyboard using CNC and 3D printing techniques, from selecting the wood to assembling the final product.
Step 1 – Choosing the Right Wood
For this project, we decided to use spalted maple for the keyboard case. Spalted maple is known for its striking patterns caused by partial decay, which adds character to the wood. We sourced our wood from Rescue Wood Rehab, a fantastic place for unique wood pieces located in North Carolina.
Materials:
- Spalted Maple (main case)
- Additional woods for keycaps (optional for customization)
Process:
- Choose wood with interesting grain patterns for aesthetic value.
- Ensure the wood is stable and free of excessive decay beyond the spalting, as this can affect the structural integrity.
Step 2 – Preparing the Wood
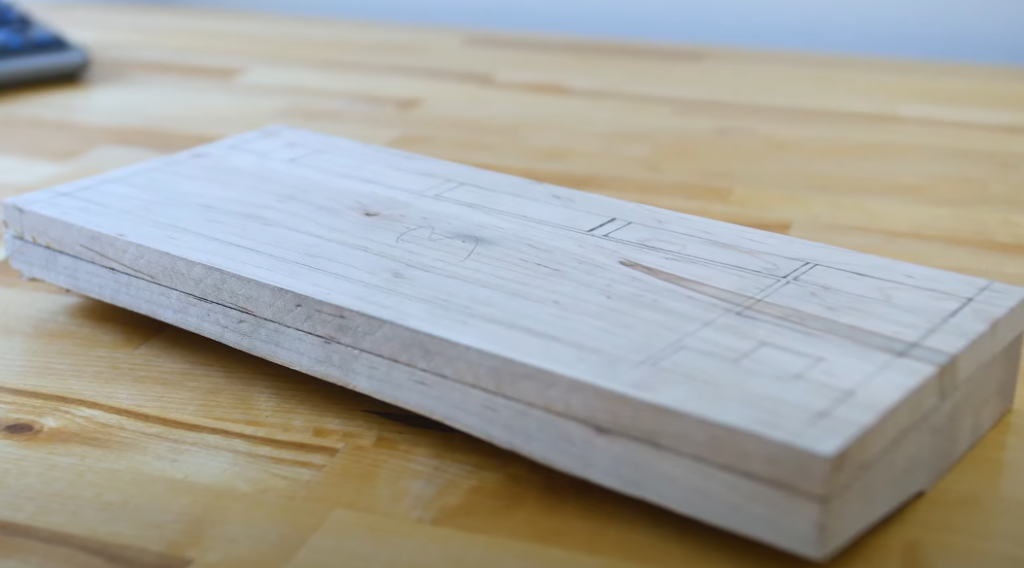
The first step involved cutting the wood to the required dimensions. We were fortunate to have the shop cut a 7-degree typing angle into the bottom of the case for us. They also ripped a half-inch off the top of the wood so we could mill it down to fit the internal components.
Tools:
- Table saw (used by the shop)
- Router
- Scroll saw
Process:
- Have the wood cut to size with a 7-degree typing angle at a professional shop. This angle helps with ergonomics.
- Reduce the thickness of the main block as needed to integrate the keyboard components.
- Use a router to hollow out a section for fitting the PCB and keycaps.
Step 3 – Designing the Keyboard
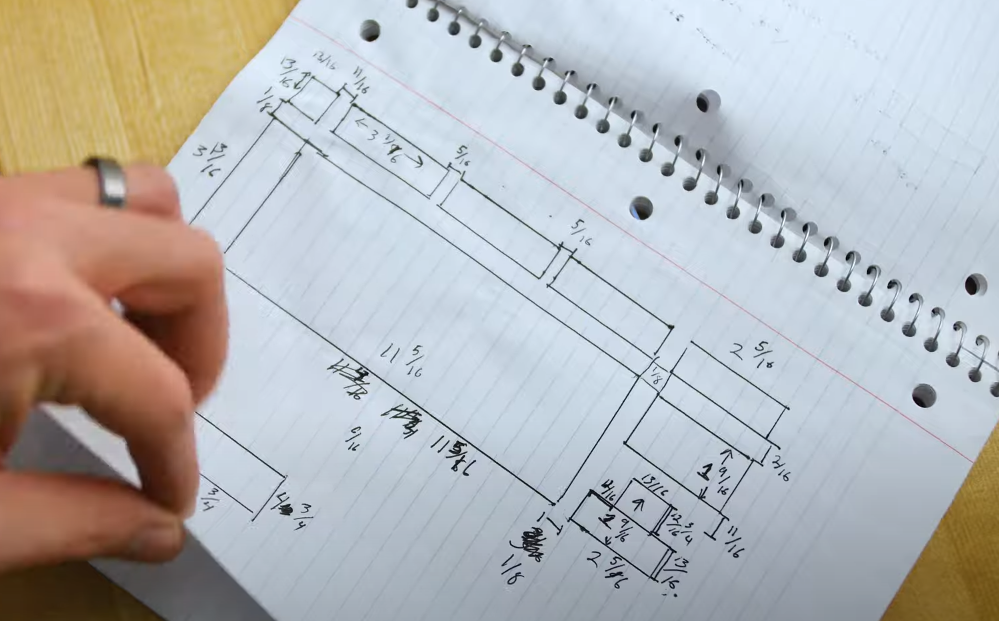
The next challenge was to design the layout of the keyboard. We took measurements from another board and created a cardboard cutout to ensure our design would fit the PCB we had. This was crucial for ensuring that the keyboard would be functional as well as beautiful.
Tools:
- Cardboard for templates
- Measuring tools
- Pencil for marking
Process:
- Create a life-size cardboard template of the keyboard layout to confirm the fit of the internal components.
- Adjust the template as needed for precision.
Step 4 – Milling the Case
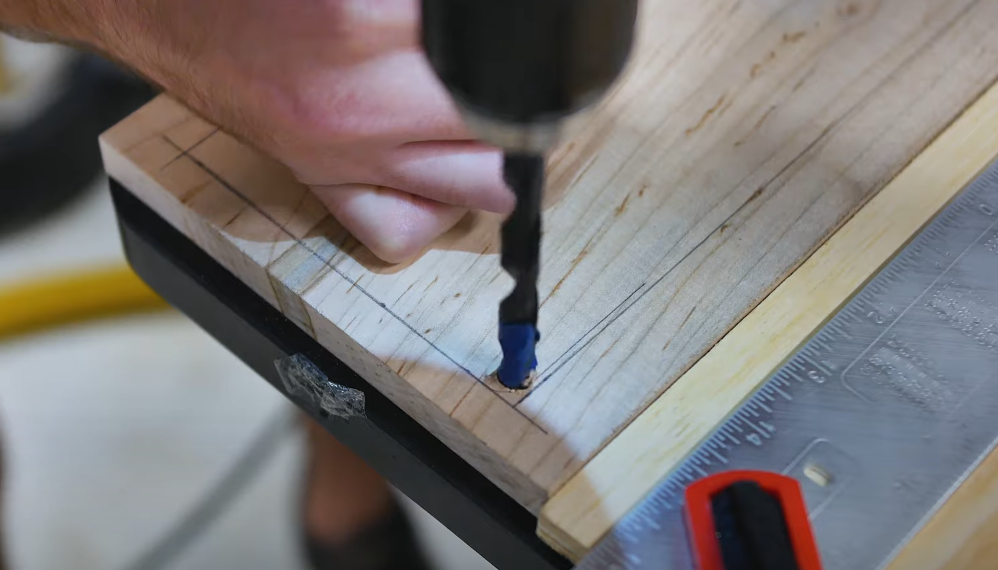
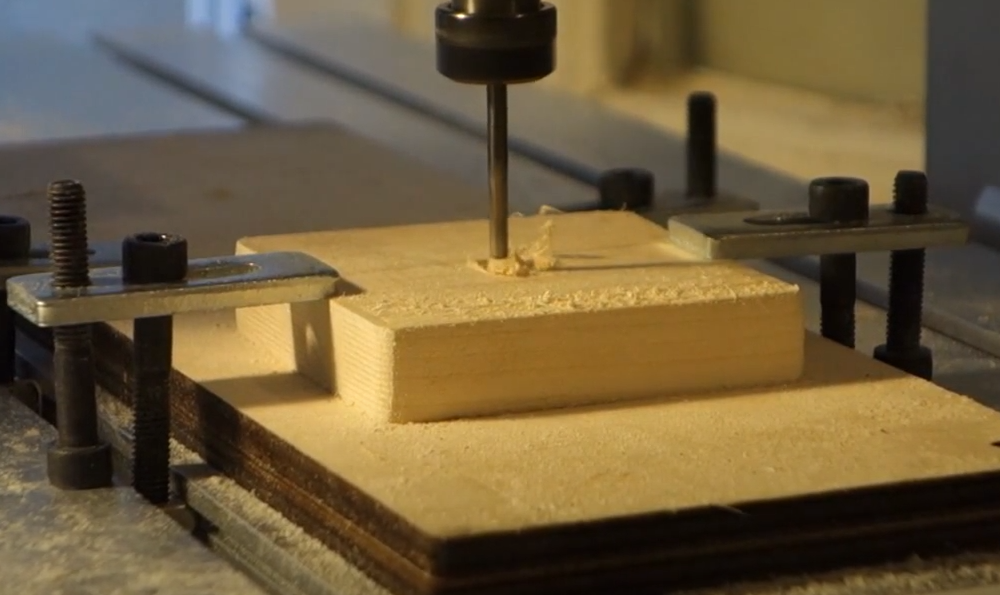
Using a hand router, we channeled out the top portion of the case to fit the PCB and plate. This required careful measurement to ensure the keycaps would sit flush with the surface of the wood. We also drilled out pilot holes for each key cluster before cutting them out with a scroll saw, a nerve-wracking process that demanded precision.
Tools:
- CNC machine
- Router
- Drill
Process:
- Use the CNC machine to carve out the detailed internal structure for the switches and wiring.
- Drill pilot holes for each key cluster.
- Use a scroll saw to intricately cut around the pilot holes, ensuring tight corners and precise cuts.
Step 5 – Assembling the Internal Components
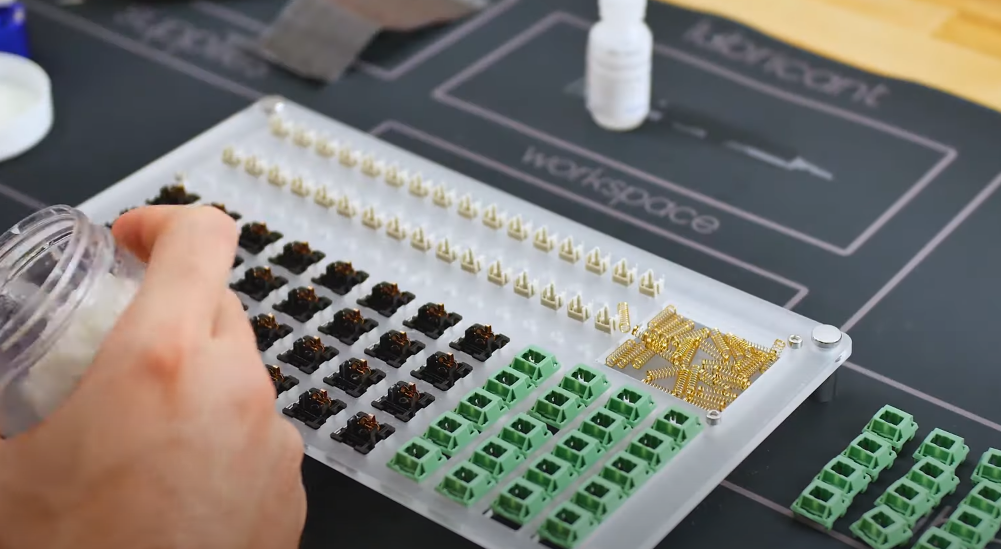
After ensuring all pieces fit together perfectly, we worked on the internal components. We modded the stabilizers and used Durock Anubis switches, which were lubed with Krytox 205 grade 0 for a smoother operation. The switches were then soldered to the PCB, and we added sound dampening materials to enhance the acoustic properties of the keyboard.
Materials:
- PCB (Printed Circuit Board)
- Mechanical switches (e.g., Durock Anubis)
- Stabilizers
- Lubricants (Krytox 205g0)
Process:
- Modify and lube stabilizers to minimize noise.
- Insert and solder switches to the PCB.
- Ensure all components fit within the routed wood without obstruction.
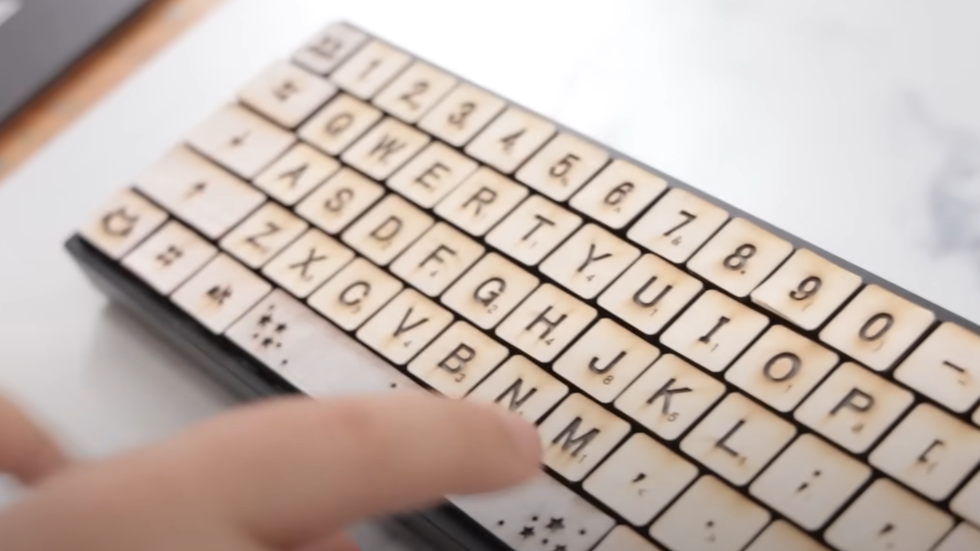
Step 6 – Creating Keycaps
For the keycaps, you have the option to either craft them from scratch using a laser cutter or utilize pre-made wooden keycaps. Initially, we explored several options for the keycaps. We considered using pure wood but realized the costs were prohibitive. We eventually found a more affordable set of wooden keycaps online for $140, which we decided to use for our build. If opting for homemade, select your preferred wood and design the keycaps to fit the aesthetic of the keyboard. Using a laser cutter, carefully engrave or fully cut out the letters to allow for backlighting if desired. If the keycaps are to be multi-layered, each piece needs to be precisely cut and then assembled using adhesive to ensure durability and a seamless look. This step allows for customizing the keycaps in terms of shape, size, and design details, making the keyboard uniquely tailored to personal or thematic preferences.
Tools:
- Laser cutter (for wooden keycaps)
- 3D printer (optional for custom designs)
Process:
- Design and cut keycaps from chosen wood, or use pre-made wooden keycaps.
- Consider engraving or fully cutting out letters for aesthetic and lighting purposes.
- Assemble keycaps by gluing multiple layers if necessary.
Step 7 – Finishing Touches
To give the keyboard a refined look, we rounded the edges with a hand router and applied a tongue oil finish to bring out the natural beauty of the spalted maple. We also created a matching wrist rest from a lighter maple to provide a nice contrast.
Materials:
- Sandpaper
- Finishing oil (e.g., tongue oil)
Process:
- Sand all wooden components to a smooth finish.
- Apply several coats of finishing oil to enhance the wood’s natural grain and provide protection.
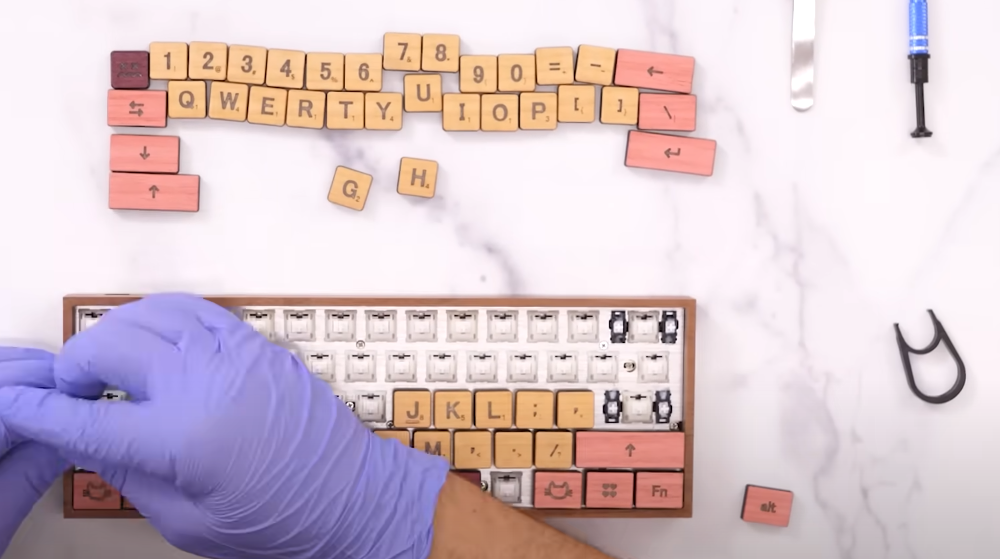
Step 8 – Final Assembly
Once all the components were prepared and finished, it was time for assembly. We carefully installed the hardware, ensuring everything was aligned perfectly. The final product was not only functional but also a piece of art.
Tools:
- Screwdriver
- Threaded inserts for screws
Process:
- Assemble all parts together, ensuring alignment and functionality.
- Install threaded inserts to secure the case pieces together.
- Mount the PCB and keycaps onto the case.
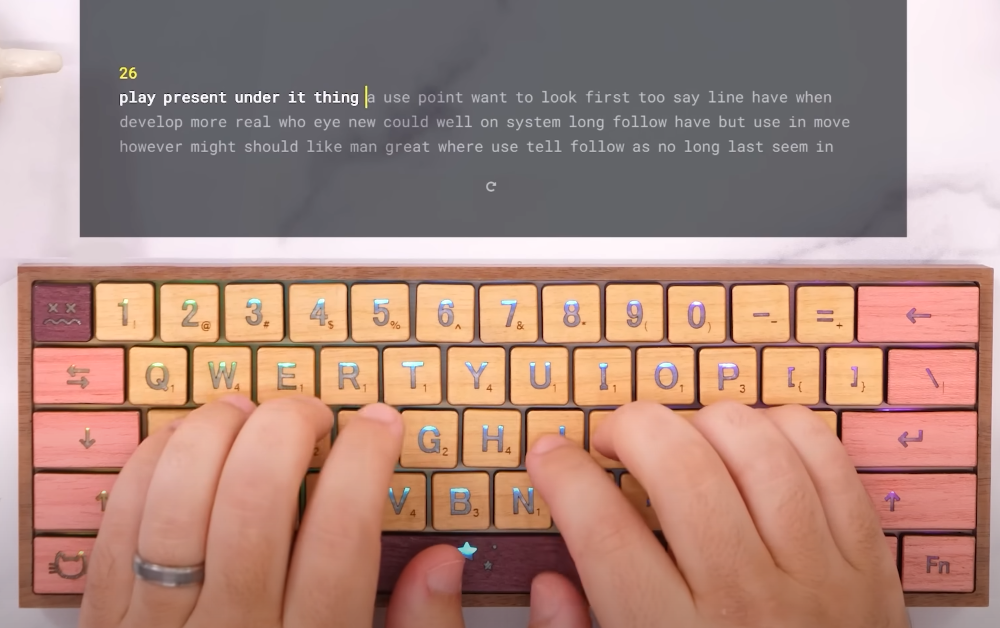
Step 9 – Testing and Adjustments
With all components prepared, I assembled the keyboard, ensuring each keycap was precisely aligned. The final product was not only visually stunning but also had a satisfying “thock” sound when typed on.
Process:
- Connect the keyboard to a computer and test all keys for functionality.
- Adjust any keys or switches that are not registering or feel off.
- Make any final aesthetic adjustments.
Creating a DIY wooden keyboard is an involved process that combines traditional woodworking skills with modern technology. The result is a unique and personal item that stands out in any setup. Whether you are looking to create something functional, improve your DIY skills, or simply take on a new challenge, building a wooden keyboard is a rewarding project that showcases the beauty and versatility of wood.